Pipelines
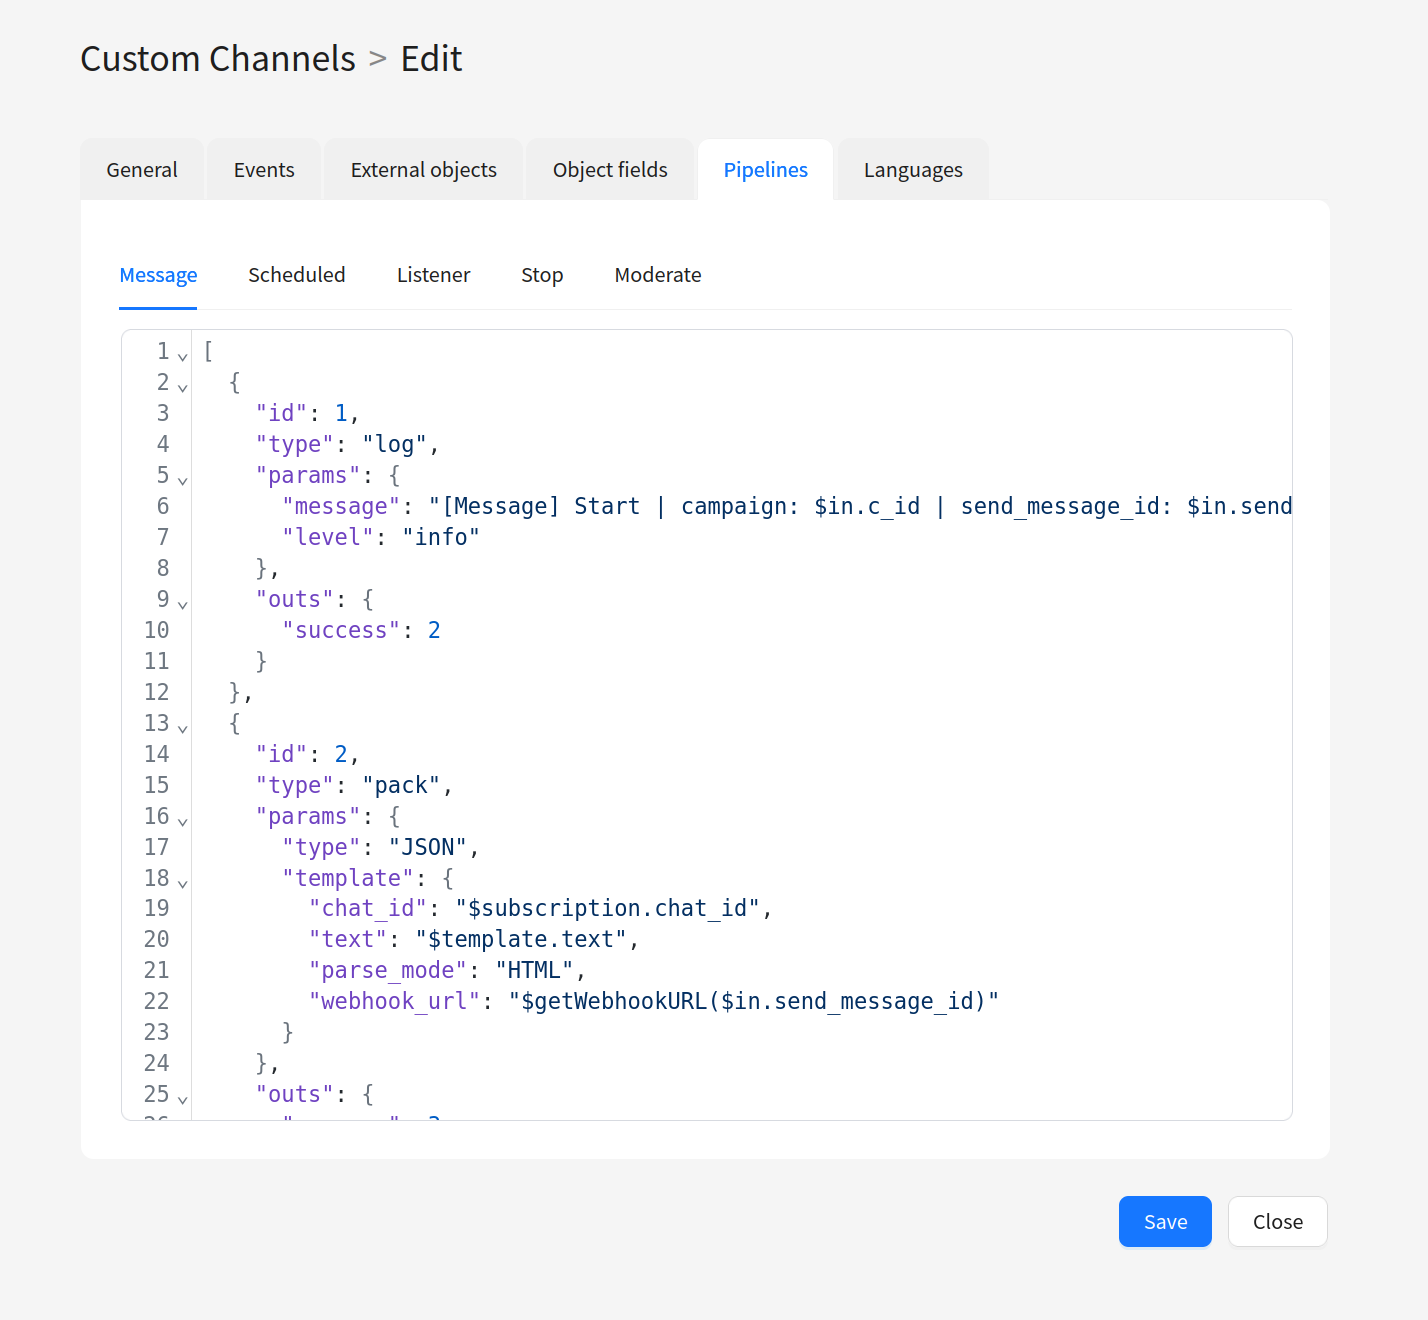
Pipeline is a chain of data processing elements that describes how a channel interacts with external services. A pipeline is defined as a JSON array and configured on the Pipelines tab when setting up a channel.
Pipe is an element of a pipeline that performs a single specific action: sends an HTTP request, packs data into JSON, writes a log, registers an event, etc. Each pipe has an input and can have one or more outputs. If a pipe has no outputs, the event exits the pipeline.
A complete list of pipes with parameter descriptions and examples is available in the Pipes section.
How a pipeline works
A pipeline works by sequentially passing an event from pipe to pipe:
- Each pipe has a unique
id, which also serves as its input. - The pipe's outputs (
outs) specify theidof the next pipe that the event will move to on success (success) or error (error). - If an output is not specified, the event exits the pipeline.
- Data passed to a pipe from the previous pipe is accessible via the
$inkeyword. - The original pipeline data is accessible via
$origin.
You can access field values inside a pipe using the templating language.
Flow visualization
[Pipe 1: Pack] ──success──> [Pipe 2: HTTP Request] ──success──> [Pipe 3: Eventer (deliv)]
                                    │
                                   error
                                    v
                              [Pipe 4: Eventer (undeliv)]
Each arrow is defined through the pipe's outs: success specifies the next pipe's id on success, error — on error. If an output is not specified, the event exits the pipeline.
Working with array data
Some channel entity fields can contain array values. This happens in two cases:
- External Object with List operation — only available for Template and Campaign. The user can select multiple values (e.g., multiple profiles or segments), and the List operation result enters the pipeline as an array.
- Fields with multiple selection — some field types (e.g.,
file,image_upload,enumwith multi-select option) also return arrays.
If you need to extract a specific value from the array, use indexing via .%<index> (zero-based indexing):
$template.profile.%0.id
This returns the id of the first selected item. To access the second — %1, the third — %2, and so on.
If you need to access the entire array, use the keyword without indexing:
$template.profile
To unpack an array into a repeating structure (for example, when building JSON with multiple attachments), use the $$ prefix. For more details, see the Templating Language section.
Pipe structure
Each pipe is described as a JSON object with the following fields:
| Field | Example | Required | Description |
|---|---|---|---|
id | 5 | Yes | Unique identifier of the pipe in the pipeline. Also serves as its input. |
type | "log" | Yes | Pipe type (determines which action is performed). |
params | {} | No | Parameters specific to this pipe type. |
outs | OutsObject | No | Pipe outputs — determine which pipe the event will move to. |
Pipe outputs (OutsObject)
| Field | Example | Required | Description |
|---|---|---|---|
success | 3 | No | id of the pipe the event will move to on successful execution. |
error | 4 | No | id of the pipe the event will move to on error. |
Parallel processing
Each pipe in a pipeline processes events in parallel: multiple independent worker processes are spawned for each pipe. The number of workers is configured via the PIPE_WORKER_SIZE parameter in the platform configuration. This allows multiple events for the same pipe to be processed concurrently.
Pipeline example
Below is an example of a pipeline that builds a JSON request, sends it over HTTP, and depending on the result, registers a delivery or non-delivery event:
[
  {
    "id": 1,
    "type": "pack",
    "params": {
      "type": "JSON"
    },
    "outs": {
      "success": 2
    }
  },
  {
    "id": 2,
    "type": "http_request",
    "params": {
      "timeout": 10,
      "content_type": "json",
      "success_codes": [200, 202]
    },
    "outs": {
      "success": 3,
      "error": 4
    }
  },
  {
    "id": 3,
    "type": "event",
    "params": {
      "channel_id": 10001,
      "action_type": 100002,
      "event": {
        "send_message_id": "$origin.send_message_id"
      }
    }
  },
  {
    "id": 4,
    "type": "event",
    "params": {
      "channel_id": 10001,
      "action_type": 100003,
      "event": {
        "send_message_id": "$origin.send_message_id",
        "message": "$error.code $error.message"
      }
    }
  }
]
Here:
- Pipe
1(Pack) packs data into JSON and passes the event to pipe2. - Pipe
2(HTTP Request) sends an HTTP request. On success, the event goes to pipe3; on error, to pipe4. - Pipe
3(event) registers a delivery event. - Pipe
4(event) registers a non-delivery event with the error code and message.