First Mailing in MAX Group
A channel in MAX is a feed of text messages that can include media files and emojis. Channels also support user comments and polls.
The MAX Group channel enables automatic publishing of posts in messenger channels and groups using placements.
MAX Group is an indirect communication channel, which means Mailings in this channel cannot be personalized using profile data variables.
Step 1. Create an organization and complete verification
Creating bots and channels in MAX is available only for verified corporate accounts and individual entrepreneurs. To confirm your status, create an organization in MAX and complete verification. More details about creating and verifying an organization are available in the MAX documentation.
Step 2. Create a bot
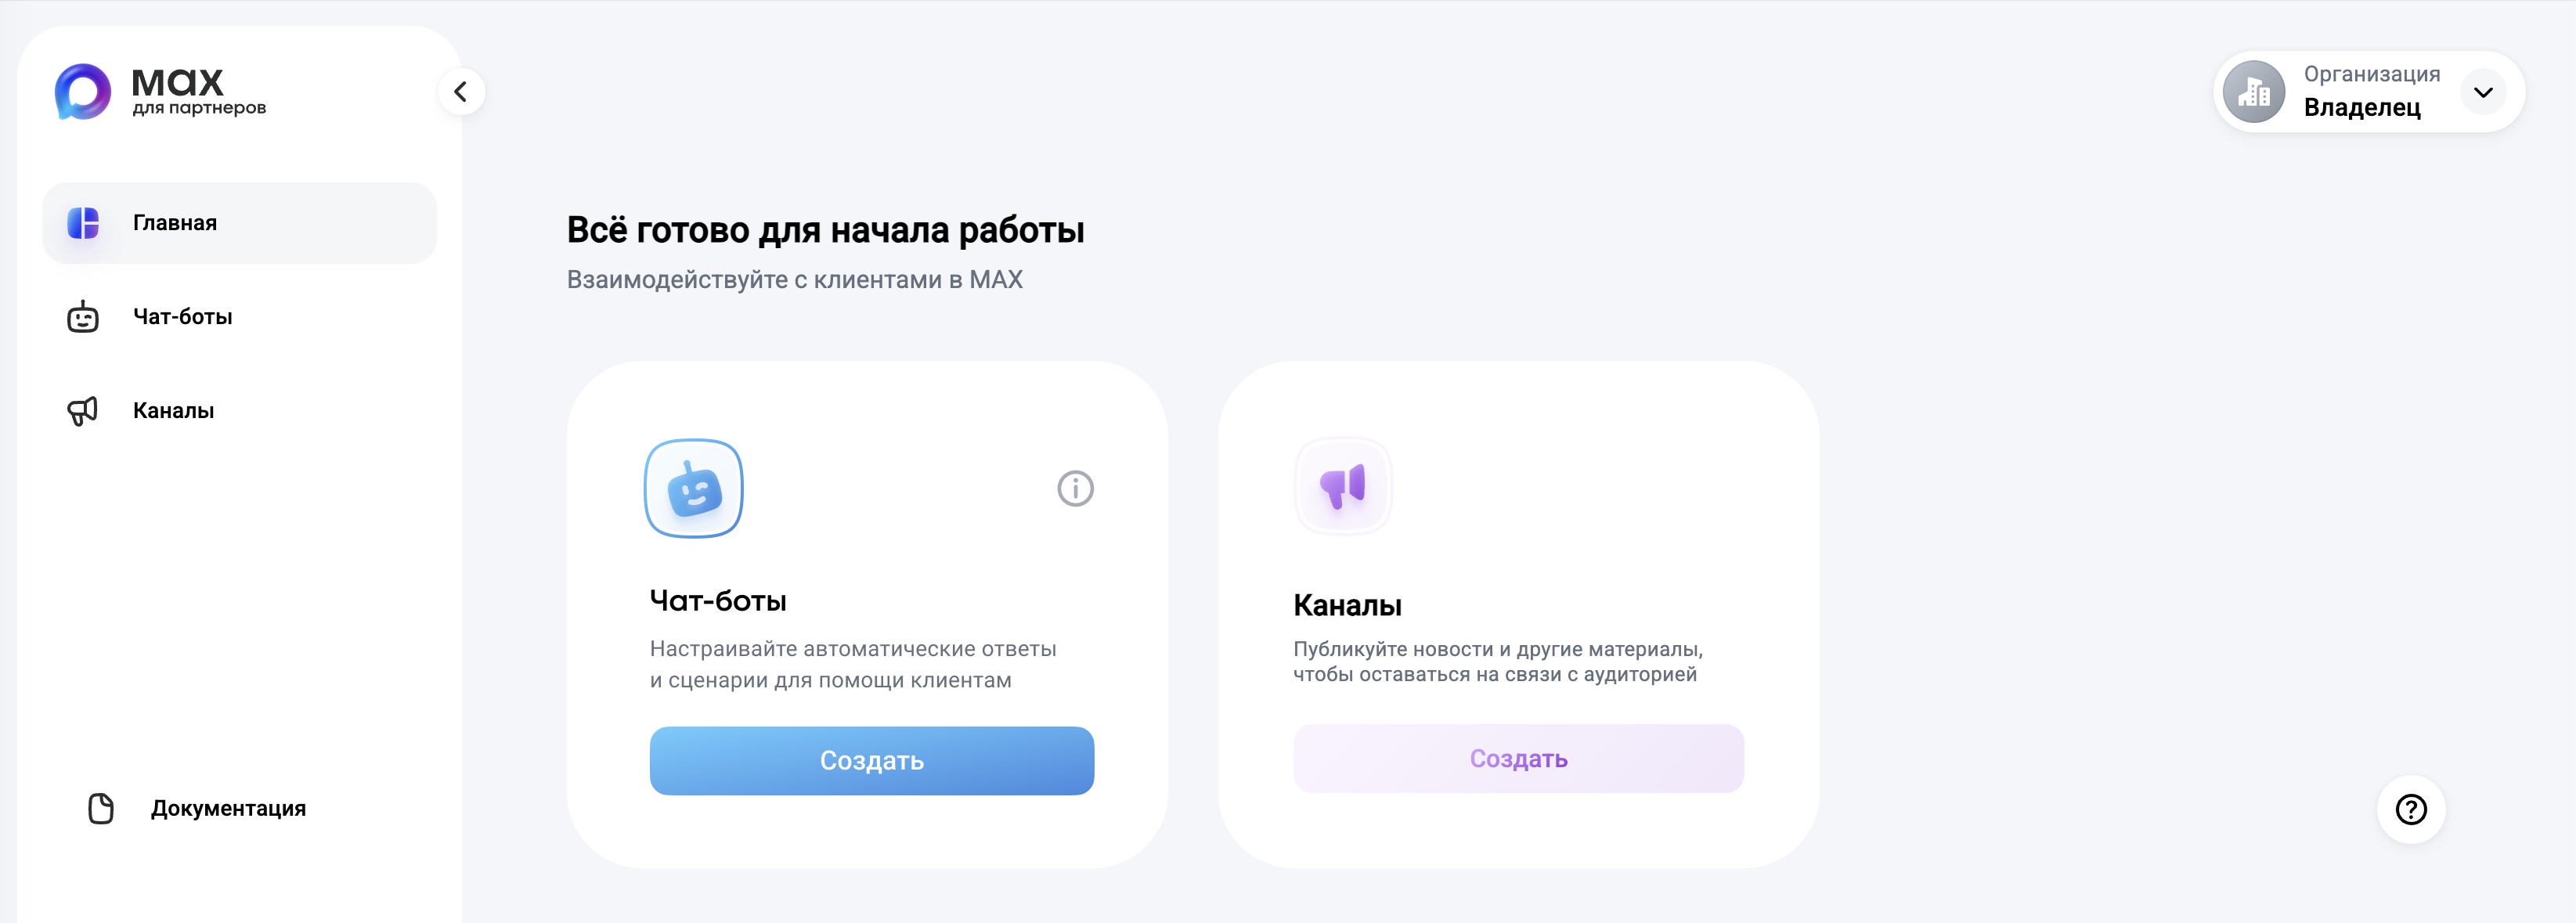
On the MAX for Partners platform, go to your profile and open the Chatbots section:
Click Create and fill in the required fields:
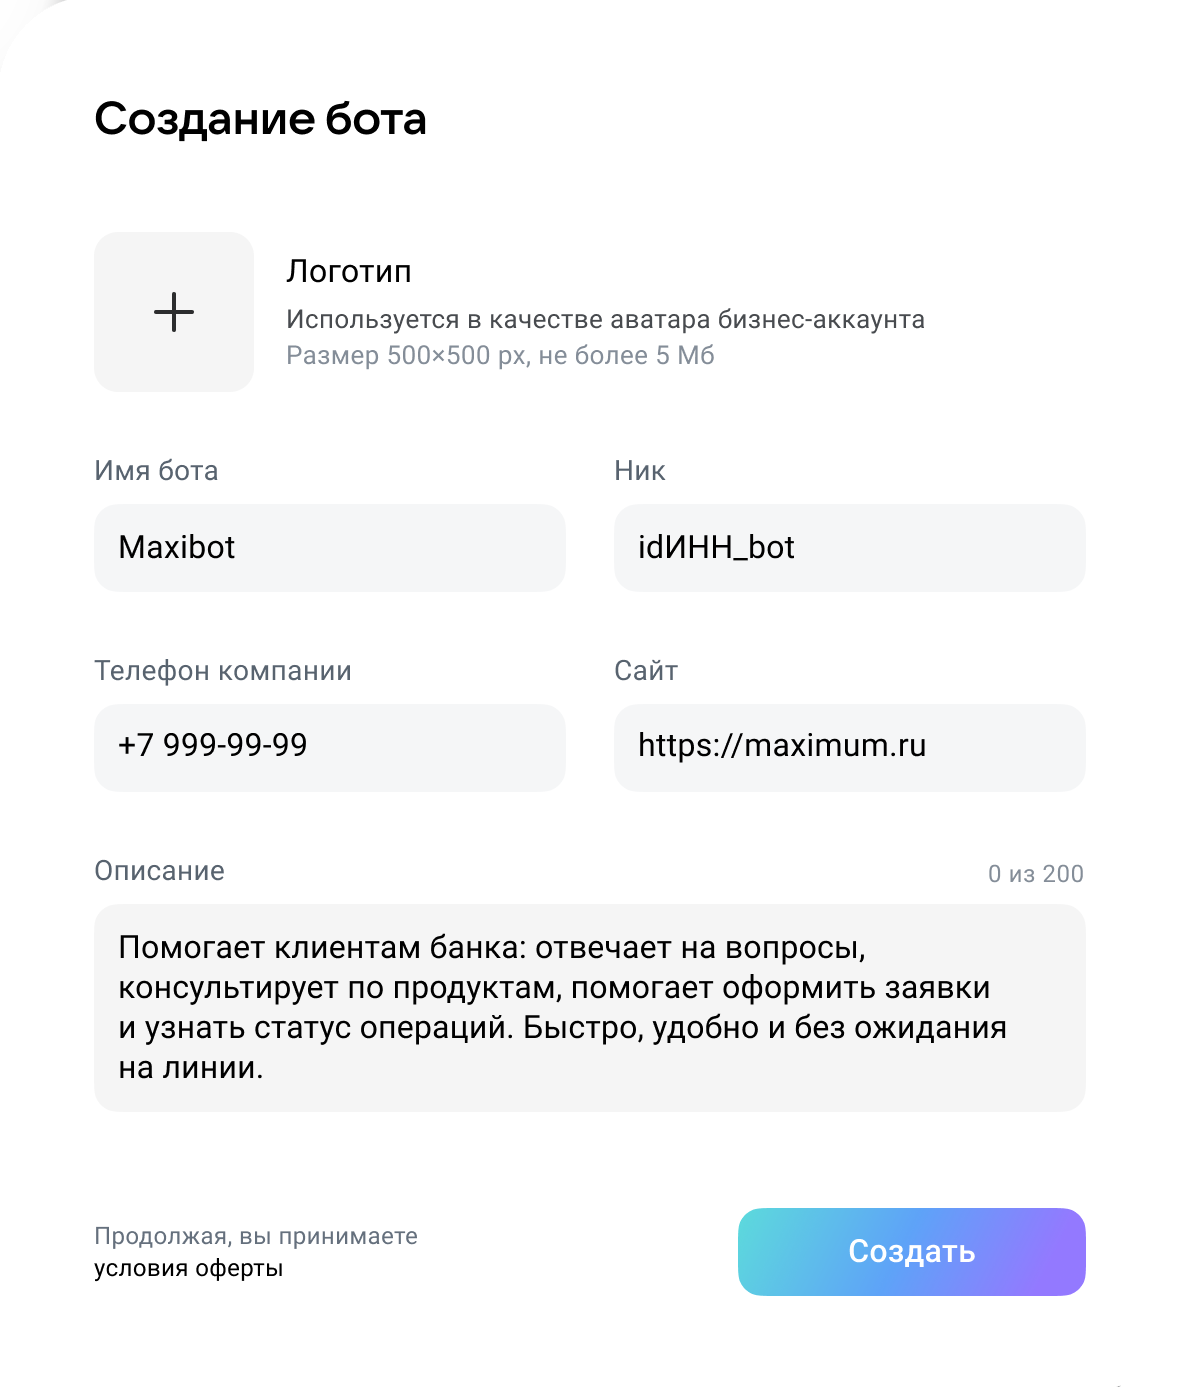
Click Create. The chatbot will be sent for moderation.
More details about creating a bot are available in the MAX documentation.
Step 3. Create a channel or group in MAX
On the MAX for Partners platform, open Channels — Create — Create a new business channel. Scan the QR code or open the bot using the button:
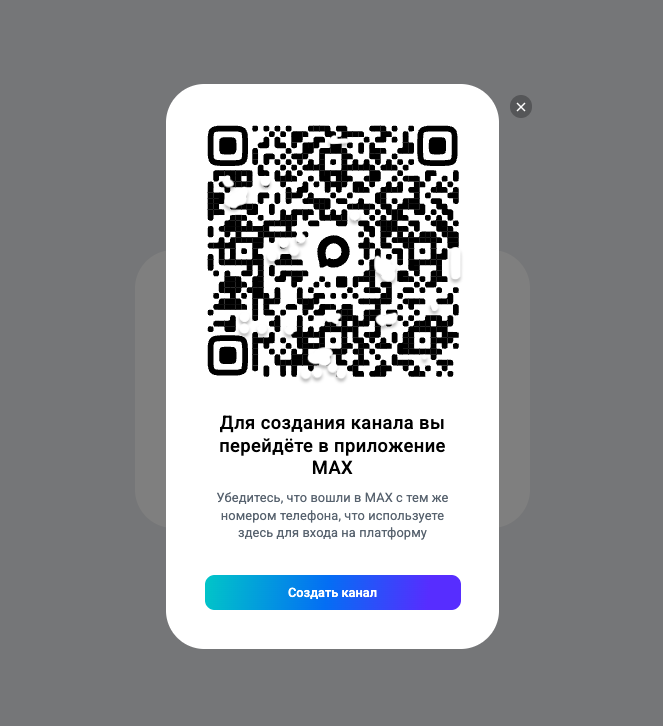
In the channel creation bot, confirm your phone number and wait for the request to be processed. After that, you will be able to manage the created channel.
Creating a group does not require special permission.
MAX supports private channels with access available only by invitation. More information about creating and managing channels is available in the MAX documentation.
Step 4. Add the bot to the channel or group
Add the created bot to the group or channel. Then grant the bot administrator rights. Messages will be published on behalf of this bot.
Step 5. Create a connection and integration
To enable interaction between the platform and MAX, you first need to create a bot connection and then configure the integration used by communication channels.
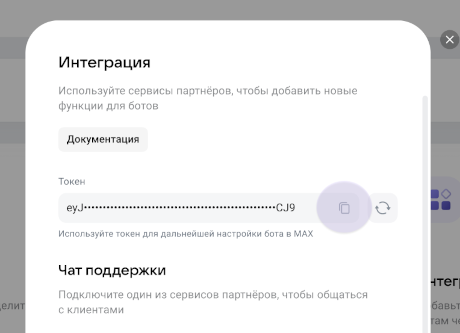
To create the connection, you need the MAX bot token. It can be obtained on the MAX for Partners platform.
Open the Chatbots section on the MAX for Partners platform, then go to Integration — Get token. The API token will appear in the field:
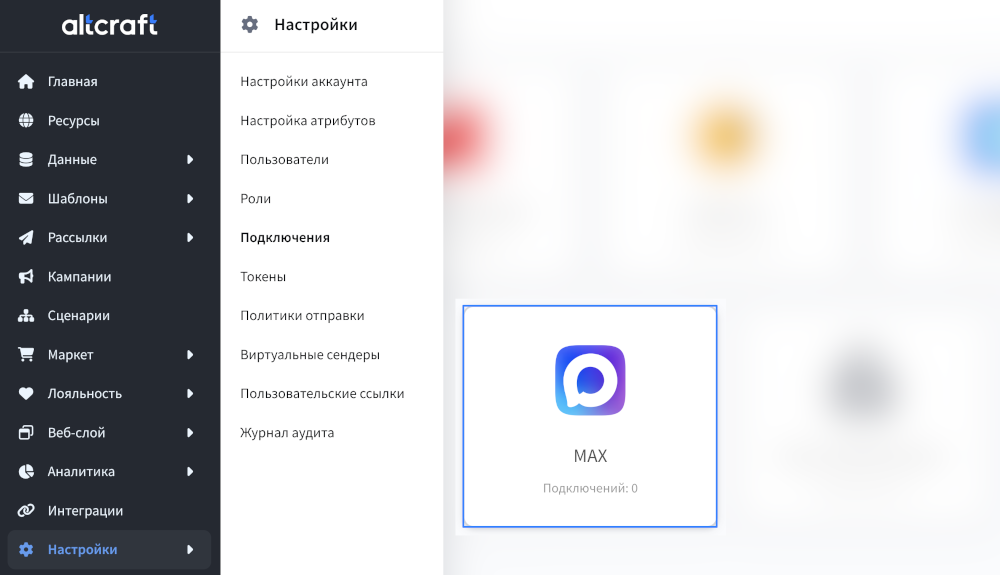
Then go to the platform and open Settings — Connections. In the list of connection types, select MAX:
Click Create on the top panel and enter the connection name and description.
In the API token field, paste the token obtained from the MAX platform and click Check. If the data is correct, the platform will display a successful verification message.

Click Save to finish creating the connection.
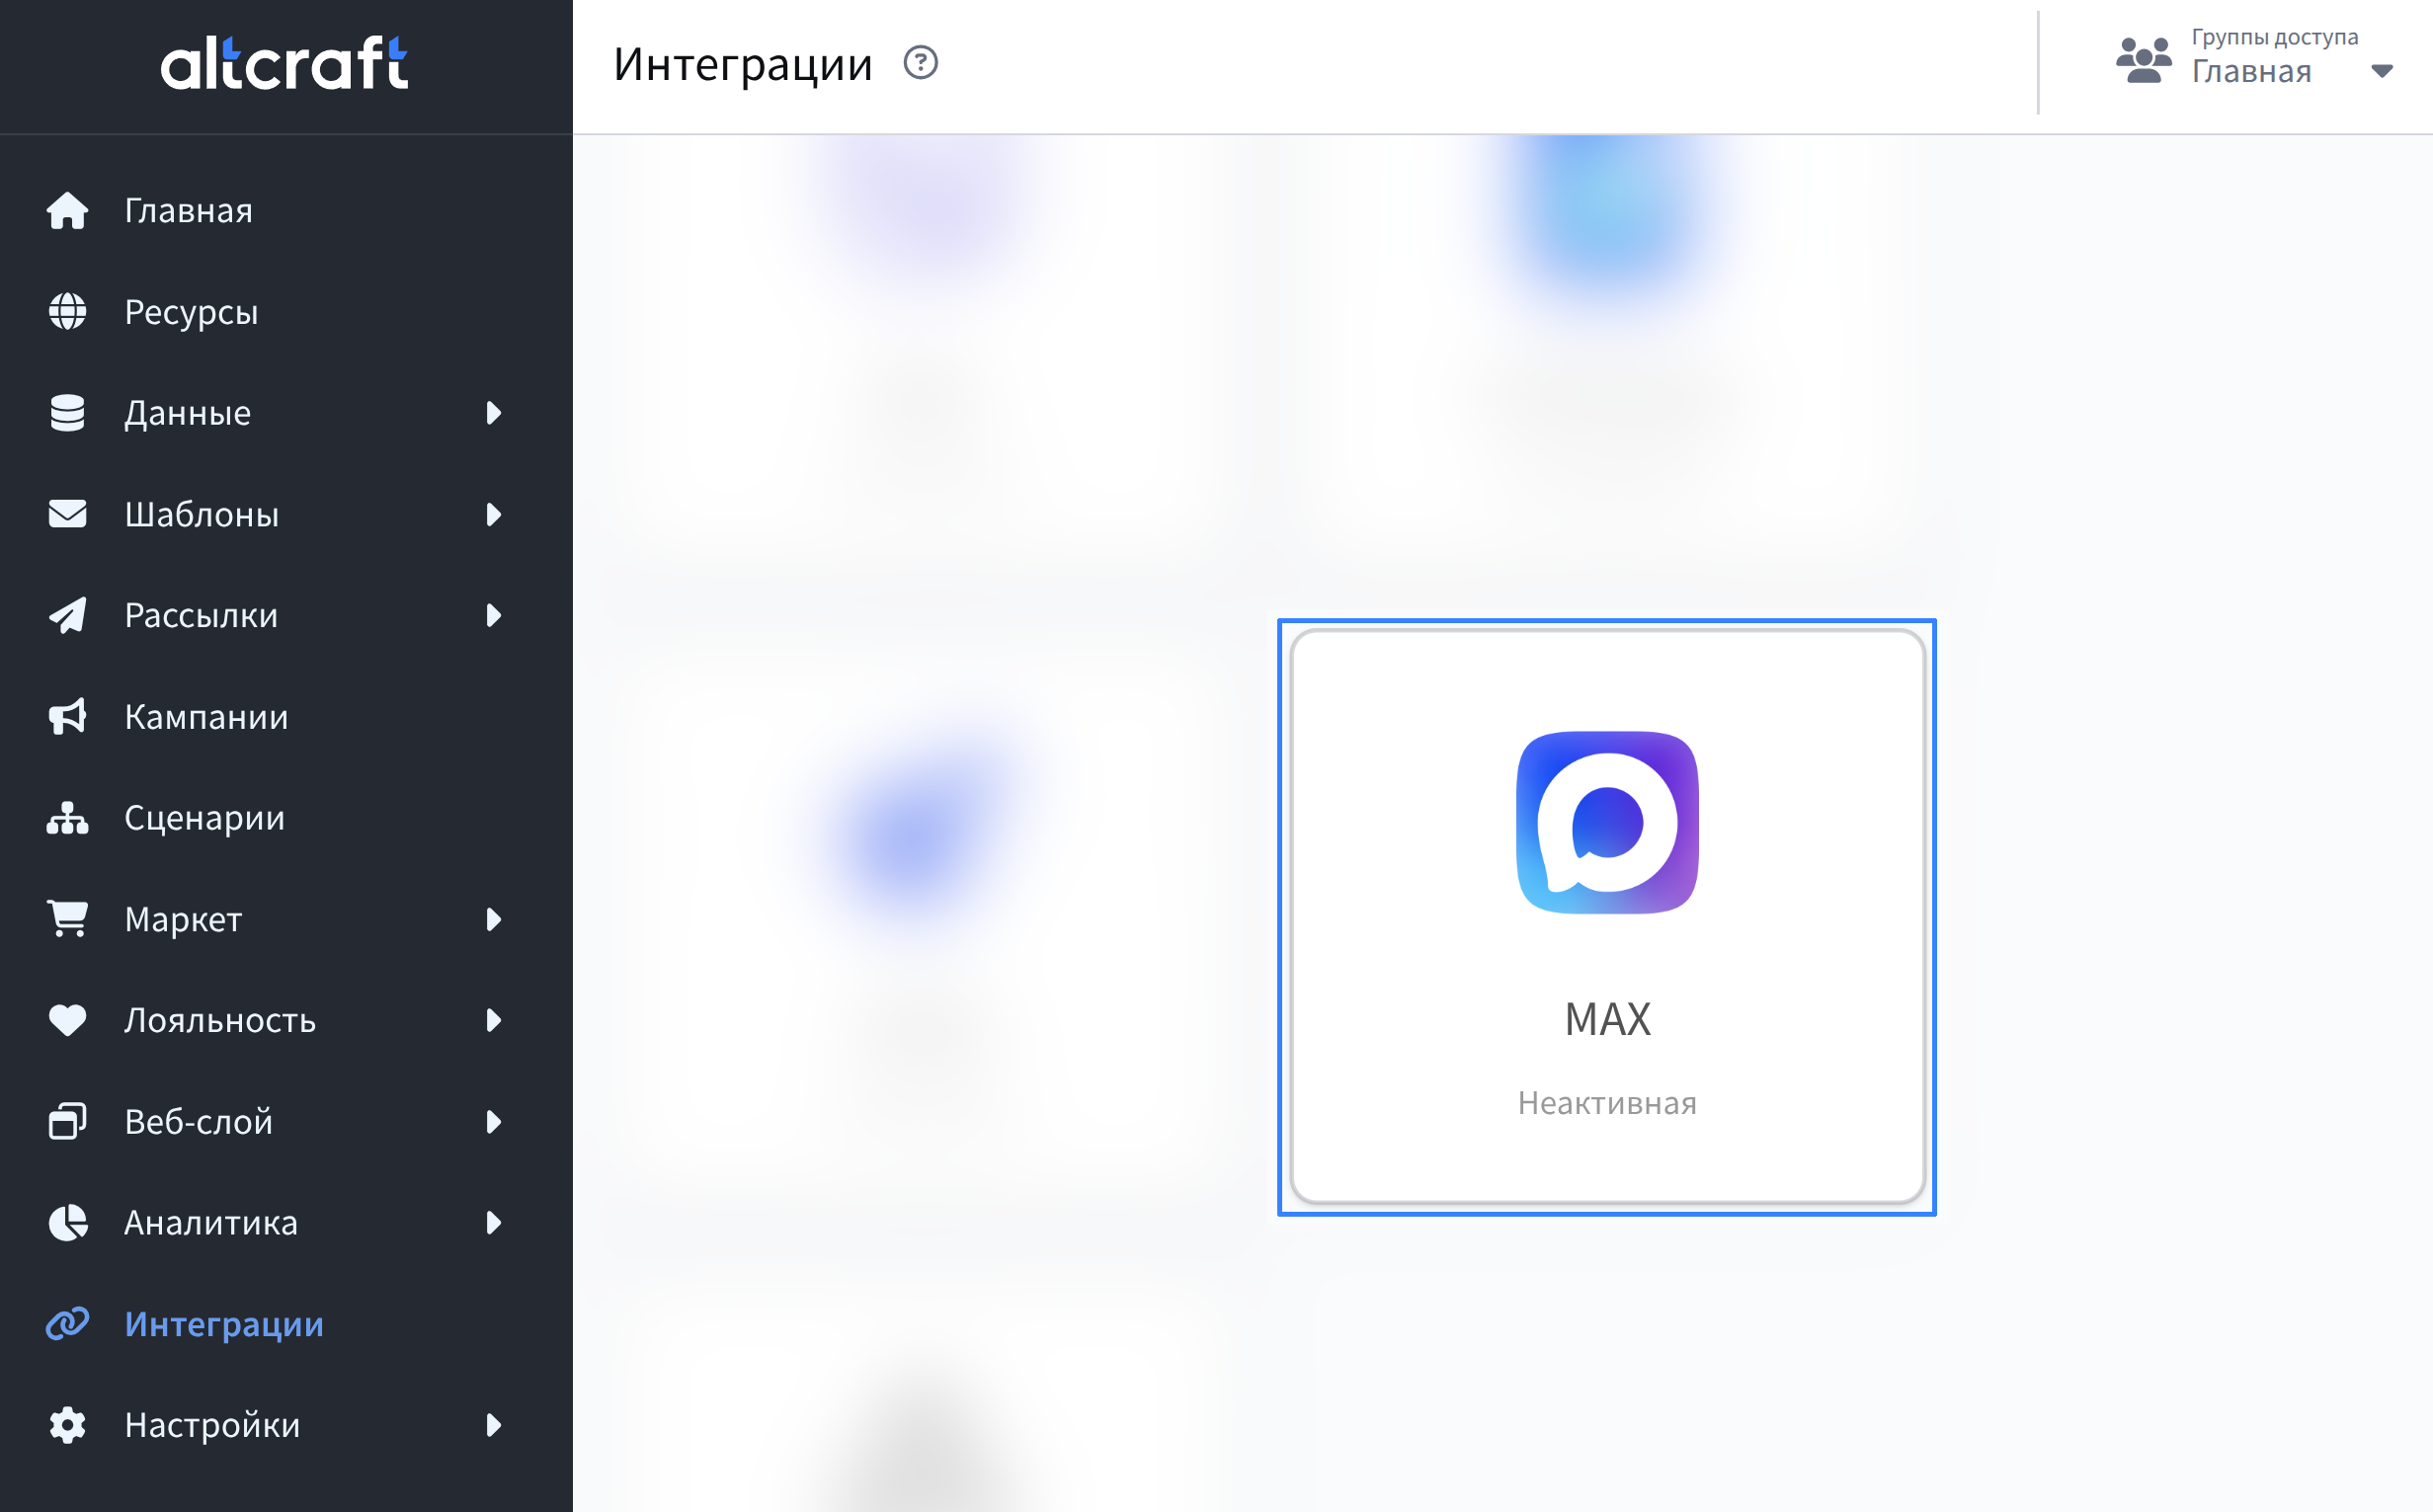
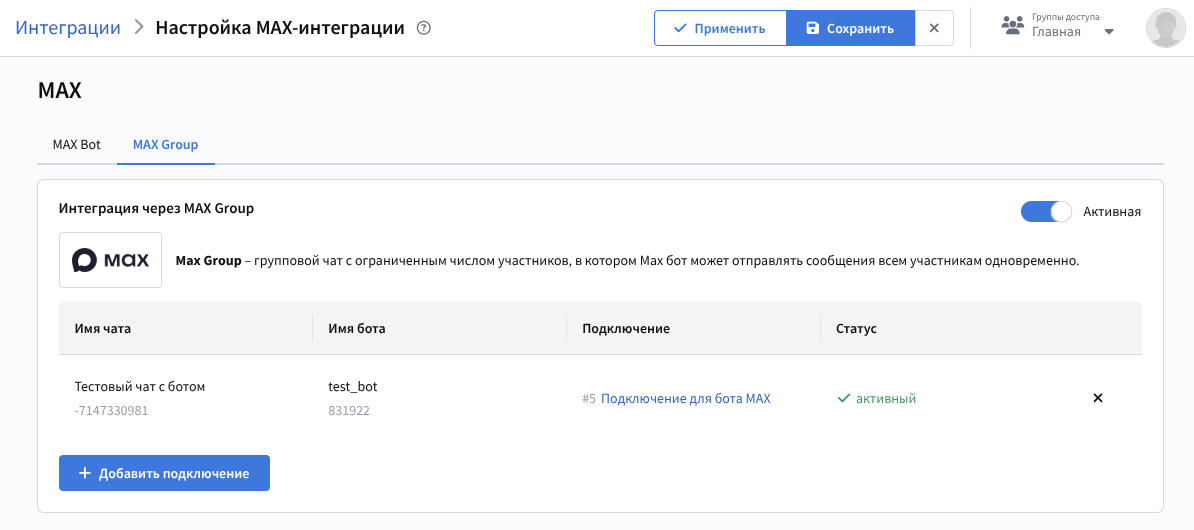
After creating the connection, configure the integration. Open the Integrations section and select MAX:
Open the MAX Group tab and click Add connection:
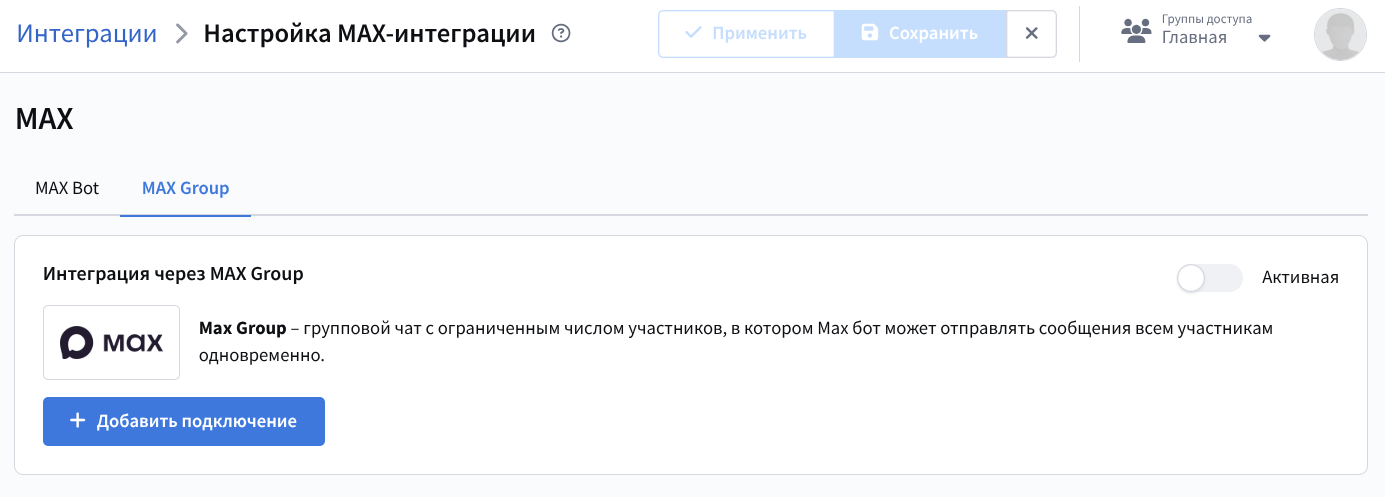
Select the created bot connection:

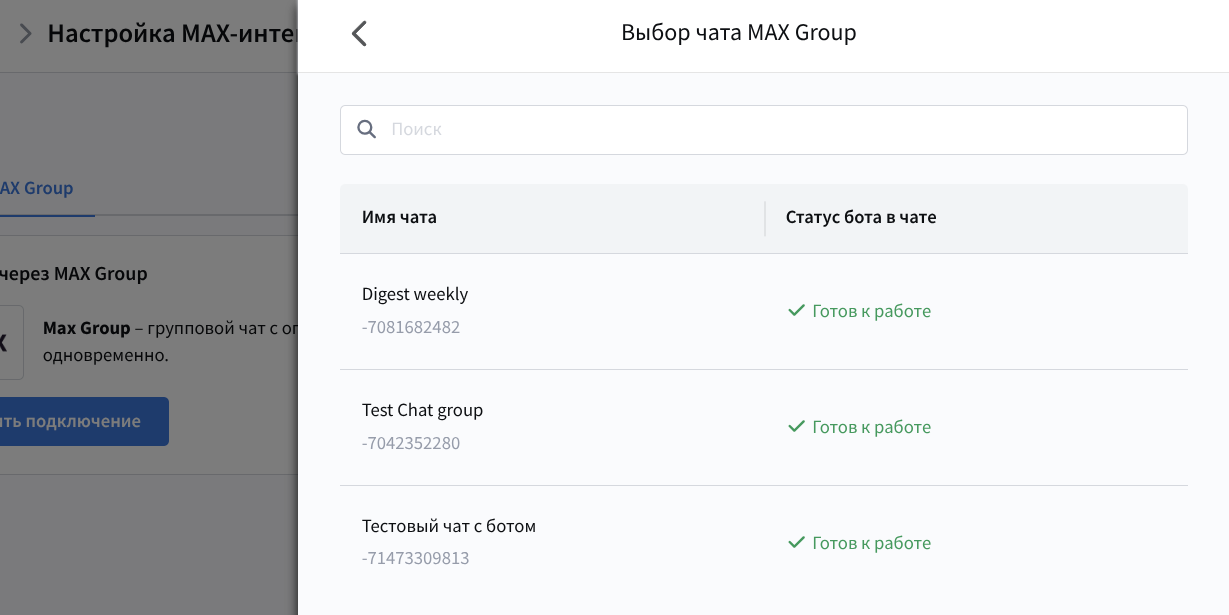
Then select the chats where the bot will send messages:
Enable the integration using the switch at the top of the page and click Save:
The integration is ready to use. Next, configure a resource that will be used to send messages to MAX messenger chats.
Step 6. Create a resource
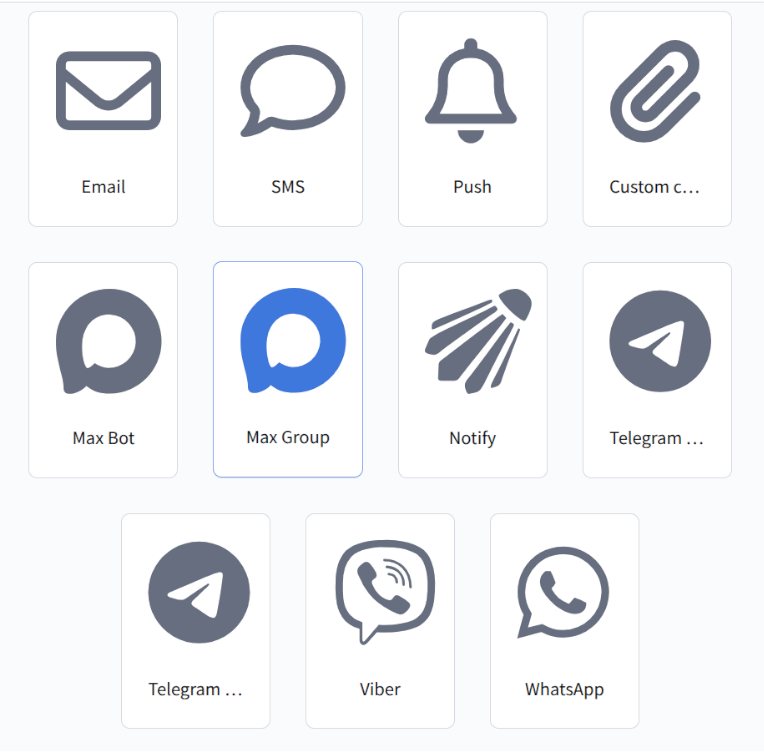
Go to the Resources section and create a new resource or select an existing one. Use MAX Group as the channel:
In the main settings, add the required databases. Specify the default tracking domain that will process subscriber clicks on links in MAX group posts.
Step 7. Create a template
Go to the Templates section. When creating a new template, select the MAX Group channel or add this channel to an existing template.
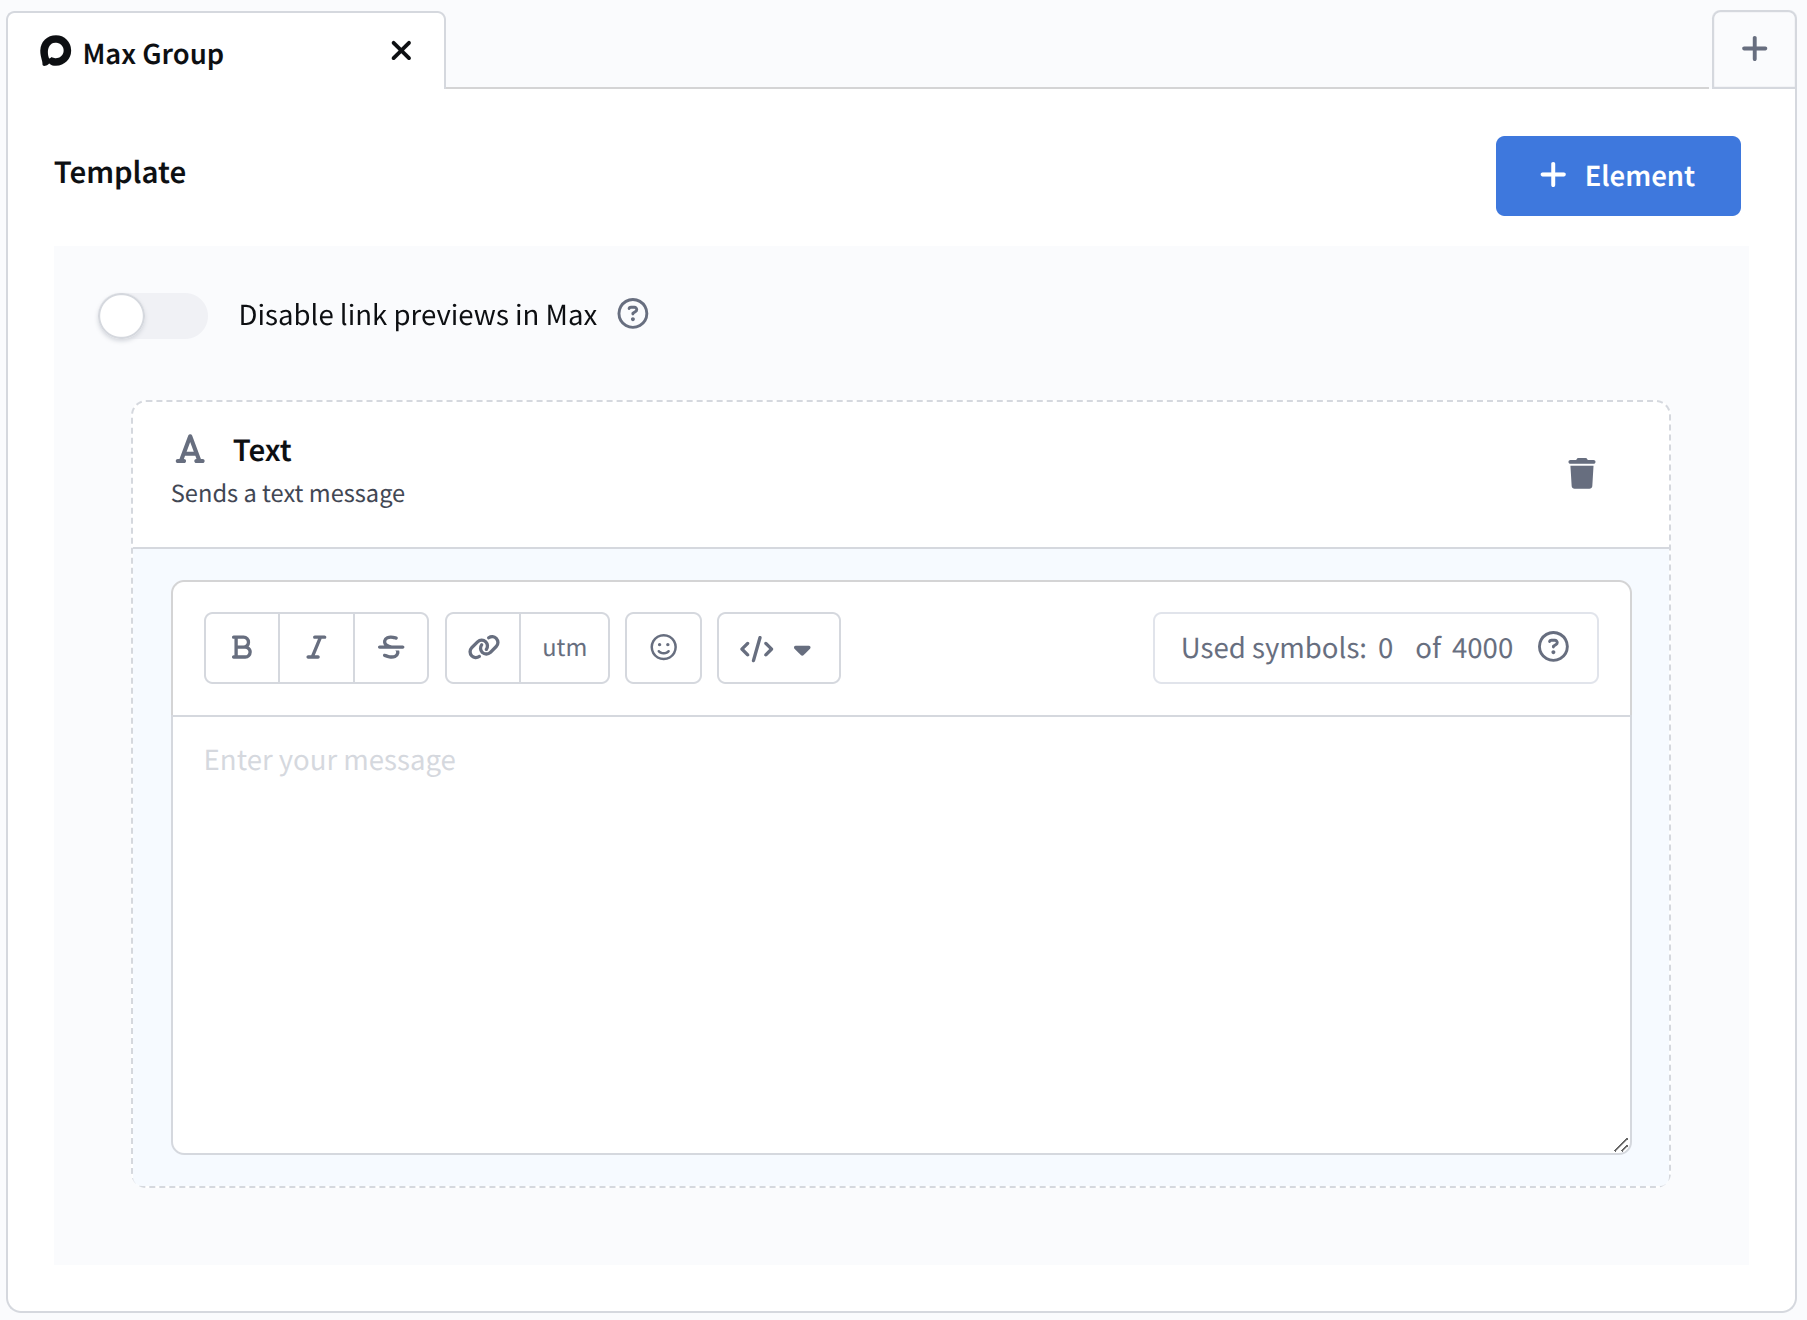
You can add dynamic text content from external sources.
Step 8. Configure and launch a placement
Open the Mailings section and select Placements. Create a new Mailing.
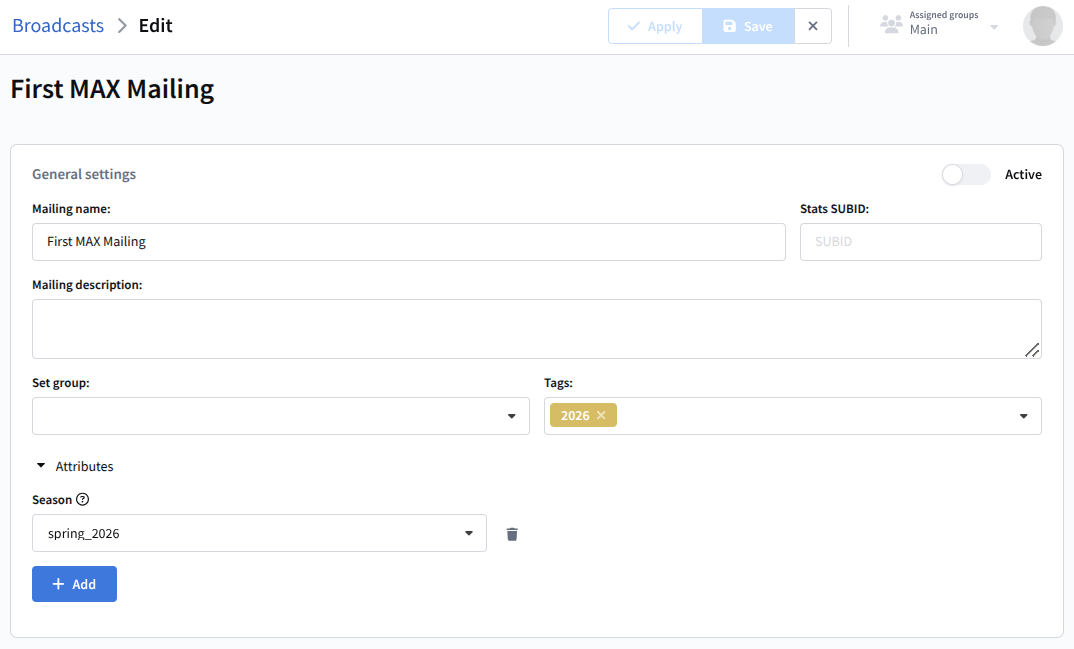
After filling in the main settings, select:
MAX Group as the communication channel;
The previously configured subscription resource;
The message template;
The date and time when the post will be published in the group.

After completing the configuration, save the Mailing. It will appear in the list of Mailings. On the right side of each entry there is a quick actions menu. From there you can activate the placement  :
:
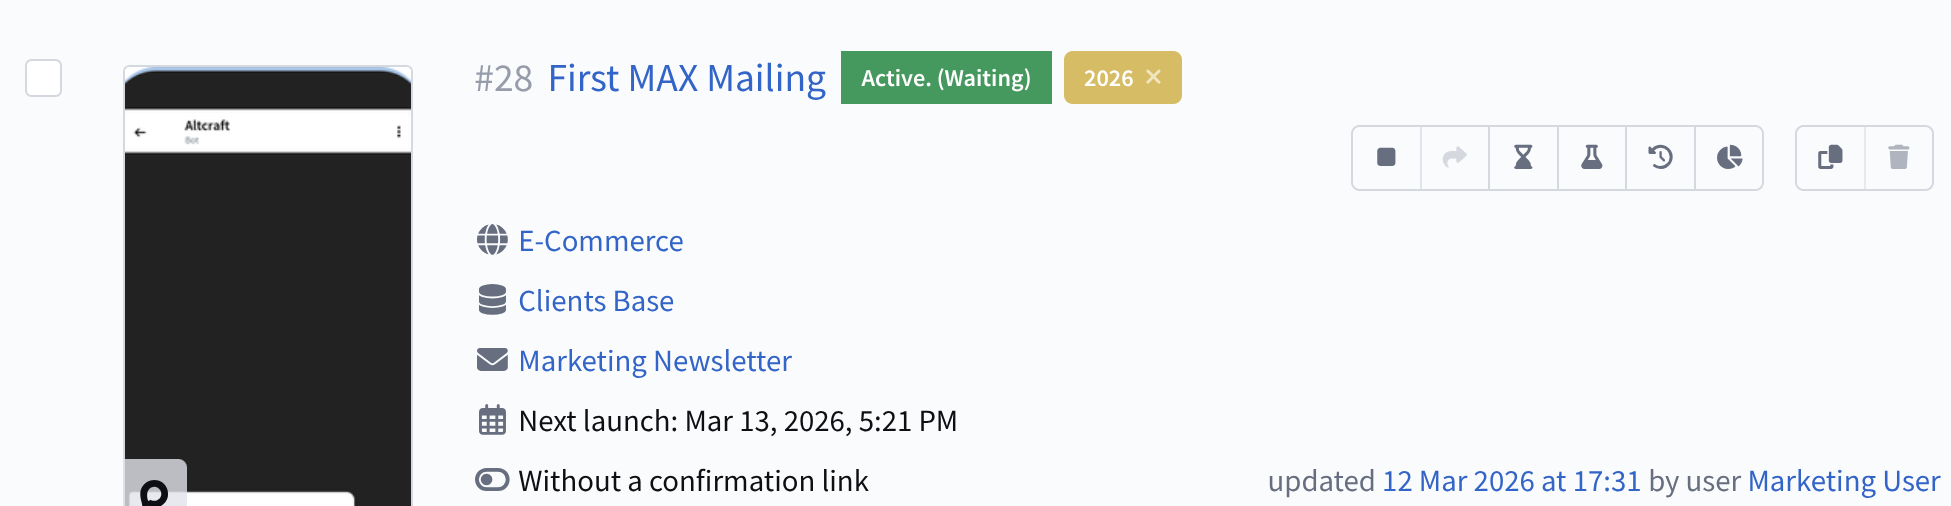
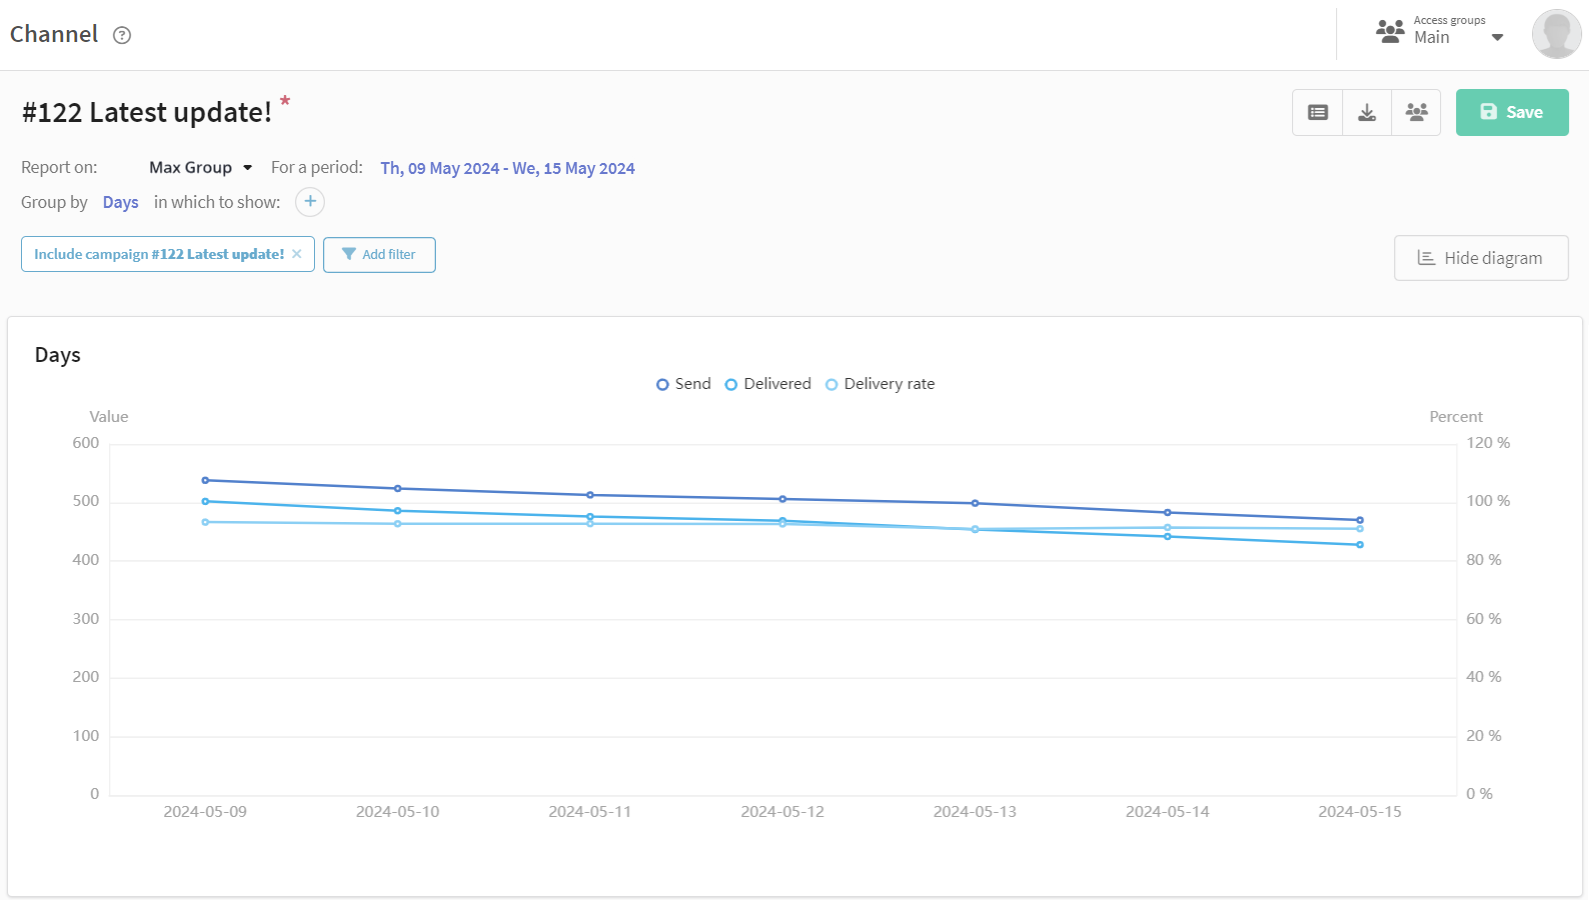
Step 9. Evaluate Mailing performance
To evaluate the results of the current Mailing, you can view the channel report. The Channel report provides analytics for one or several Mailings.
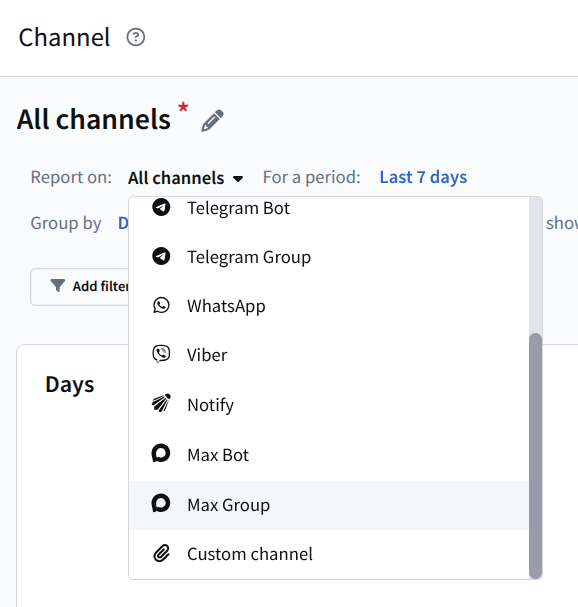
To access statistics, open the Analytics section in the main platform menu. By default, the report for All channels for the last 7 days is displayed.
To group data by channel, select Report by: MAX Group
Next, add a filter for specific Mailings. Select the required Mailing from the list. As a result, you will receive statistics for the selected Mailing.